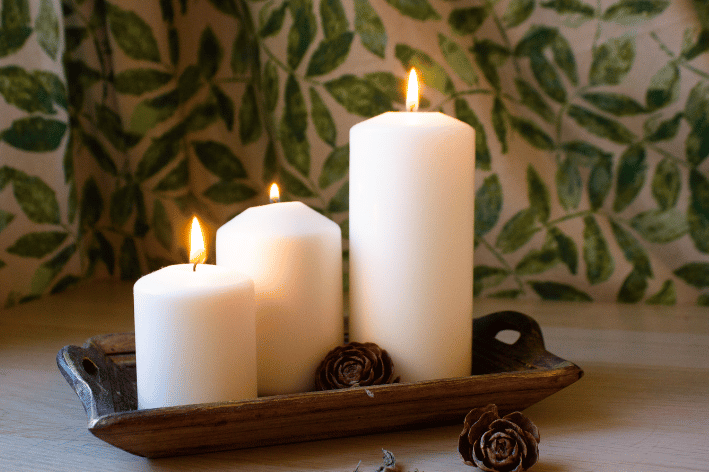
Pillar candles are timeless decor pieces that bring warmth and elegance to any space. Their tall, sturdy structure and long burn time make them a favourite for both practical and decorative use. But what makes pillar candles so unique, and how did they come to be? Read on as we explore their history, what sets them apart from regular candles, and a step-by-step guide to crafting your own pillar candles, including tips on wicking and choosing the perfect mold.
A Brief History of Pillar Candles
Candles have been lighting up human history for thousands of years. The earliest candles were made by ancient civilisations using animal fat, tallow, or beeswax. Pillar candles, specifically, became popular during the Renaissance period when artisans began creating decorative and functional candles for churches and homes. Their rigid shape and ability to stand on their own made them preferable to earlier designs requiring holders.
Over the years, pillar candles evolved from practical household necessities to decorative art pieces. Today, they remain a symbol of sophistication and peace, often used for special occasions, celebrations, or simply to create a cozy atmosphere at home.
What Sets Pillar Candles Apart?
Unlike regular candles like tea lights or tapered candles, pillar candles are freestanding and do not require a holder. This is thanks to their thick structure, which makes them more stable and less prone to dripping.
Here are a few features that make pillar candles stand out:
- Durability: The size allows for extended burn times, making them ideal for long use.
- Versatility: They come in various sizes, shapes, and colours, allowing endless decor possibilities.
- Layered Design: Many pillar candles are made with layered wax, creating beautiful effects as they burn.
- Self-Supporting: No need for a glass or metal container; they maintain their shape and stand tall on their own.
How to Make Your Own Pillar Candles
Crafting your own pillar candles can be a rewarding hobby. Here’s a step-by-step guide to help you make them at home.
Materials You’ll Need:
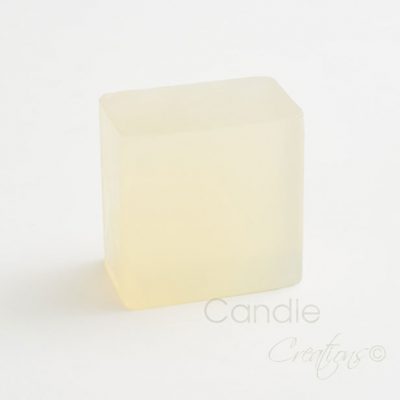
- Pillar candle wax (like palm wax, soy, or beeswax, which have a firmer structure than container candle wax and are designed to pull away from the mold).
- Pillar mold (metal, silicone, or plastic – more on this later).
- Wick (appropriate size for the diameter of your mold).
- Wick sustainer tabs.
- Double boiler or heat-safe melting pot.
- Thermometer.
- Fragrance oils or dyes (optional).
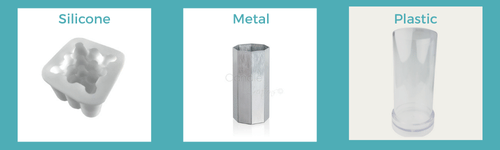
Step 1: Choose the Right Mold
Pillar candles require molds to create their shape. The type of mold you use can affect the look and ease of making them:
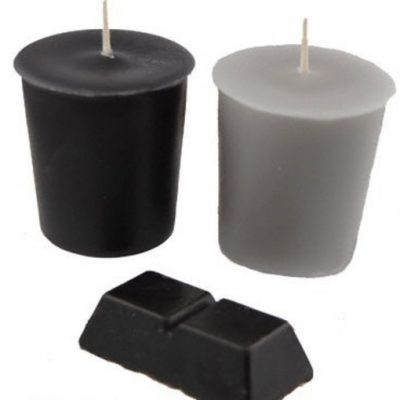
- Metal molds are durable, conduct heat well, and produce shiny candle surfaces. They are excellent for repeated use.
- Silicone molds allow intricate designs and are flexible, making candle removal easy. Perfect for decorative candles.
- Plastic molds are affordable and great for beginners, but they may not last as long as metal or silicone molds.
Step 2: Preparing the Mold
If you’re using the right wax then you should not need to spray your molds. Ensure the wax you choose is designed for pillar candles so it pulls away from the mold making for an easy release. The waxes that we would suggest are:
ASW – A27 Soy Wax | Phoenix Pillar Wax | Palm Wax
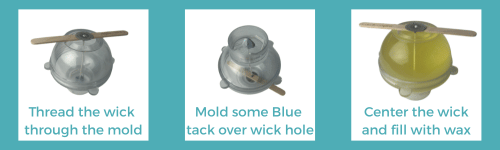
Thread the wick through the center hole at the bottom of the mold. Secure the hole with some bluetack to ensure there are no leaks once the wax is poured. Pull the wick tight and use a wooden wick holder across the mold’s opening to ensure the wick is centered. It is important at this point to make sure that the wick is taught and straight in the mold and that the wick hole is covered by bluetack.
Step 3: Melting the Wax
Melt your wax using a double boiler or The Chandler & Me Candle Maker. This ensures even heating and prevents overheating. Once melted, bring the wax to the recommended pouring temperature (usually 75-80 degrees celsius, depending on the type of wax). If you’d like to add fragrance or dye, do so here, stirring gently to distribute evenly.
Step 4: Pouring the Wax
Once the wax has reached the correct pouring temperature, slowly pour the melted wax into your mold, ensuring that the wick stays centered. Leave some wax in your jug and some space at the top to allow for a second pour later, as wax can shrink as it cools.
Step 5: Poke and Refill
Once the wax cools slightly and you see a skin forming on the top, use a skewer or wick pin to poke relief holes around the wick. This prevents air pockets. Reheat the saved wax and top off the candle to create a smooth surface.
Step 6: Removing the Candle
After the wax has fully cured (usually 12–24 hours), gently remove the candle from the mold. If the candle doesn’t slide out easily, place it in the fridge for a few minutes – the contracted wax should loosen.
Step 7: Trim the Wick
Once your candle is out of the mold, trim the wick to ensure a clean and even burn when the candle is lit.
Why Wicking Matters in Pillar Candles
The wick is the heart of the candle, and choosing the right one makes all the difference. For pillar candles, use a wick that matches your mold’s diameter. Too small, and the candle won’t burn evenly; too large, and it might result in excessive soot or dripping. Cotton wicks are ideal for small to medium pillar candles.
Tips for Customisation
Pillar candles are highly customisable! Use layered wax to create ombre effects, or mix in glitter for some sparkle. You can also select molds in various shapes, from classic cylinders to decorative patterns, adding a special touch to your candles.
Final Thoughts
Pillar candles are more than just a source of light; they’re a statement piece that adds charm and warmth to any space. Crafting them at home is not only a fun and creative process but also allows you to customise colours, scents, and shapes to suit your style. Whether you’re a beginner or a seasoned candle enthusiast, making pillar candles is a rewarding way to enjoy this age-old tradition.
Happy candle-making! ✨